
Ch01 Request
Yang Haoran 1/9/2020 JavaSpring
# 请求相关
传统传参方法:localhost:8080/hello1?a=1&b=3
使用RESTful操作资源 :可以通过不同的请求方式来实现不同的效果!如下:请求地址一样,但是功能可以不同!简洁,高效,安全
http://127.0.0.1/item/1 查询,GET
http://127.0.0.1/item 新增,POST
http://127.0.0.1/item 更新,PUT
http://127.0.0.1/item/1 删除,DELETE
使用restful风格可以直接在url中使用斜杠分割参数:
http://localhost:8080/hello1/1/3
效果为a=1,b=3
@Controller
public class RestfulController {
    /*@RequestMapping(value="/hello1/{a}/{b}",method = RequestMethod.POST)//可以使servlet读取到url中的参数并传参,可以限定方法类型*/
    @GetMapping("/hello/{a}/{b}")//也可以直接用注解限定请求的方法
    public String hello1(@PathVariable int a, @PathVariable String b, Model model){
        String result = a + b;
        model.addAttribute("msg","get:" + result);
        return "hello";
    }

    @PostMapping("/hello/{a}/{b}")//同一个url也能根据请求方法不同交给不同方法处理
    public String hello2(@PathVariable int a, @PathVariable String b, Model model){
        String result = a + b;
        model.addAttribute("msg","post:" + result);
        return "hello";
    }

}
1
2
3
4
5
6
7
8
9
10
11
12
13
14
15
16
17
18
2
3
4
5
6
7
8
9
10
11
12
13
14
15
16
17
18
# 请求的转发和重定向
@Controller
public class RedirectController {
    @GetMapping("/hello/{a}/{c}")
    public String hello(@PathVariable int a, @PathVariable String c, Model model, HttpServletRequest request, HttpServletResponse response){
        String result = a + c;
        result += "--->session id--->";
        result += request.getSession().getId();
        model.addAttribute("msg",result);
        return "forward:/h";//请求的转发,可以转发到另一个controller
    }

    @GetMapping("/h")
    public String h(Model model){
        System.out.println(111);
        return "hello";
    }

    @GetMapping("/redirect")
    public String re(Model model){
        return "redirect:/redirectTarget.jsp";//请求的重定向,要写完整的路径名(不可以访问webinf下的资源)
    }
}
1
2
3
4
5
6
7
8
9
10
11
12
13
14
15
16
17
18
19
20
21
22
2
3
4
5
6
7
8
9
10
11
12
13
14
15
16
17
18
19
20
21
22
# 接受参数有并且回显
<dependencies>
    <dependency>
        <groupId>org.projectlombok</groupId>
        <artifactId>lombok</artifactId>
        <version>1.18.20</version>
    </dependency>
</dependencies>
1
2
3
4
5
6
7
2
3
4
5
6
7
package pojo;

import lombok.AllArgsConstructor;
import lombok.Data;
import lombok.NoArgsConstructor;

@Data//相当于写了get,set,toString方法
@AllArgsConstructor//所有的有参构造
@NoArgsConstructor//无参构造
public class user {
    private int id;
    private int age;
    private String name;
}
1
2
3
4
5
6
7
8
9
10
11
12
13
14
2
3
4
5
6
7
8
9
10
11
12
13
14
# Json
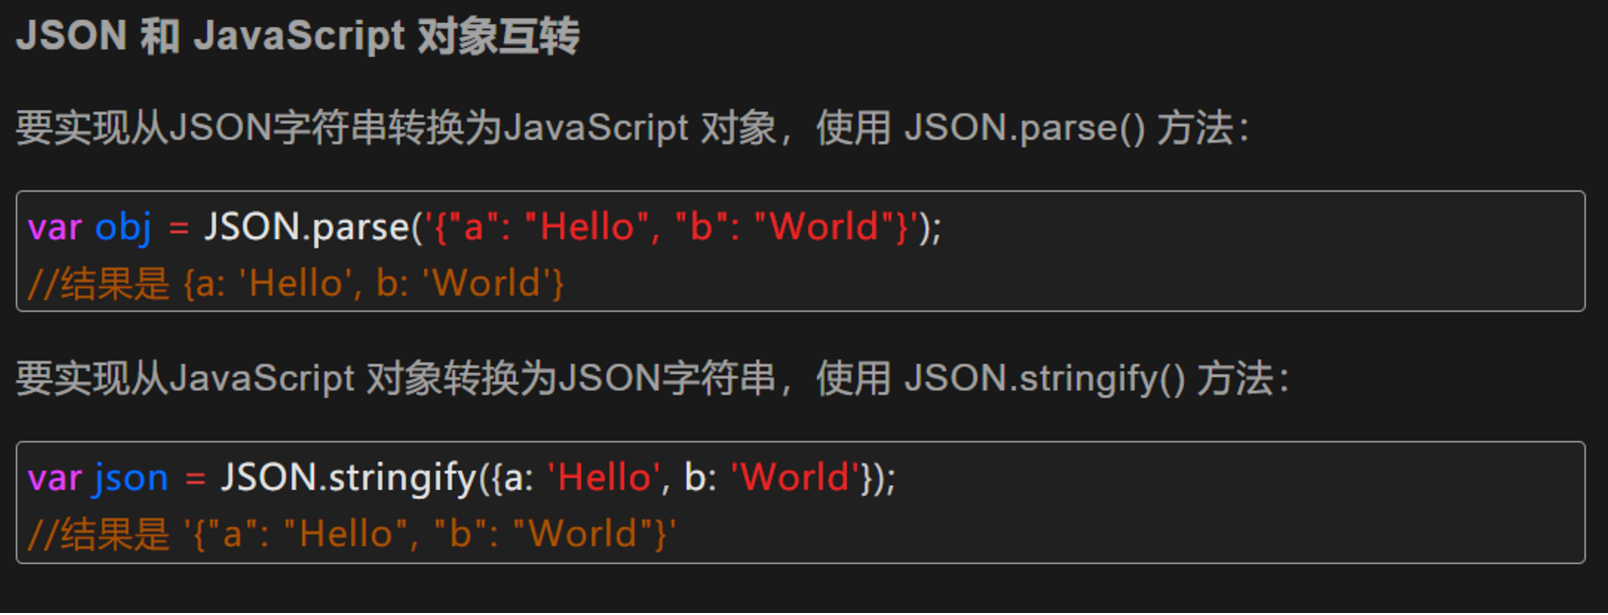
JS中的json对象转换
使用jackson进行json解析:
<dependency>
   <groupId>com.fasterxml.jackson.core</groupId>
   <artifactId>jackson-databind</artifactId>
   <version>2.9.8</version>
</dependency>
1
2
3
4
5
2
3
4
5
把对象转换为json字符串输出给页面(传递集合也可以输出)
//@RestController  加入这个注解之后其中的所有方法都不会走视图解析器,直接输出字符串
@Controller
public class Jsontest {

    @GetMapping("/json")
    @ResponseBody //可以阻止方法返回值走视图解析器
    public String j(Model model) throws JsonProcessingException {
        User user = new User("username","password",10);
        //以下两步把对象转换成json字符串
        ObjectMapper mapper = new ObjectMapper();
        String userString = mapper.writeValueAsString(user);
        return userString;
    }
}
1
2
3
4
5
6
7
8
9
10
11
12
13
14
2
3
4
5
6
7
8
9
10
11
12
13
14
关于Date的输出:
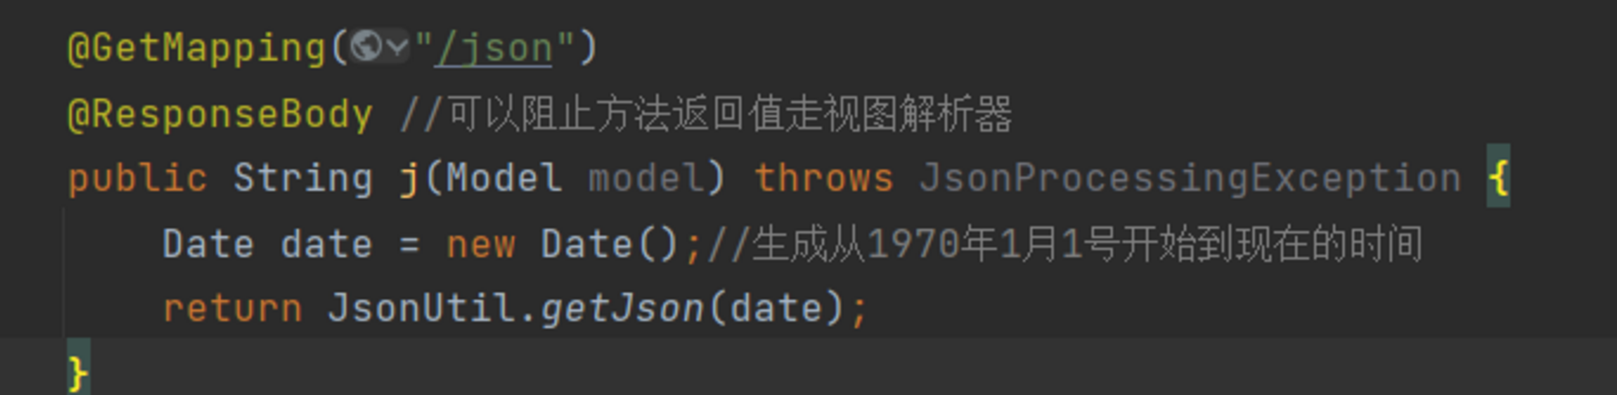
- 使用java的方式
public String j(Model model) throws JsonProcessingException {
    Date date = new Date();//生成从1970年1月1号开始到现在的时间
    SimpleDateFormat sdf = new SimpleDateFormat("yyyy-MM-dd HH:mm:ss");//自定义时间格式,注意大小写
    String time = sdf.format(date);
    //以下两步把对象转换成json字符串
    ObjectMapper mapper = new ObjectMapper();
    String userString = mapper.writeValueAsString(time);
    return userString;
}
1
2
3
4
5
6
7
8
9
2
3
4
5
6
7
8
9
2. 不使用时间戳的方式,直接再mapper里面设置date的格式:(并抽象为工具类)
public class JsonUtil {
    //使用默认时间格式
    public static String getJson(Object object){
        return JsonUtil.getJson(object, "yyyy-MM-dd HH:mm:ss");
    }

    //设置时间戳的格式
    public static String getJson(Object object, String timepattern){
        ObjectMapper mapper = new ObjectMapper();
        SimpleDateFormat sdf = new SimpleDateFormat(timepattern);
        //不使用时间戳的方式
        mapper.configure(SerializationFeature.WRITE_DATES_AS_TIMESTAMPS, false);
        //设置时间转换格式
        mapper.setDateFormat(sdf);
        try {
            return mapper.writeValueAsString(object);
        } catch (JsonProcessingException e) {
            e.printStackTrace();
        }
        return null;

    }
}
1
2
3
4
5
6
7
8
9
10
11
12
13
14
15
16
17
18
19
20
21
22
23
2
3
4
5
6
7
8
9
10
11
12
13
14
15
16
17
18
19
20
21
22
23
使用Fastjson进行json解析:
<dependency>
   <groupId>com.alibaba</groupId>
   <artifactId>fastjson</artifactId>
   <version>1.2.60</version>
</dependency>
1
2
3
4
5
2
3
4
5
System.out.println("*******Java对象 转 JSON字符串*******");
       String str1 = JSON.toJSONString(list);
       System.out.println("JSON.toJSONString(list)==>"+str1);
       String str2 = JSON.toJSONString(user1);
       System.out.println("JSON.toJSONString(user1)==>"+str2);

       System.out.println("\n****** JSON字符串 转 Java对象*******");
       User jp_user1=JSON.parseObject(str2,User.class);
       System.out.println("JSON.parseObject(str2,User.class)==>"+jp_user1);

       System.out.println("\n****** Java对象 转 JSON对象 ******");
       JSONObject jsonObject1 = (JSONObject) JSON.toJSON(user2);
       System.out.println("(JSONObject) JSON.toJSON(user2)==>"+jsonObject1.getString("name"));

       System.out.println("\n****** JSON对象 转 Java对象 ******");
       User to_java_user = JSON.toJavaObject(jsonObject1, User.class);
       System.out.println("JSON.toJavaObject(jsonObject1, User.class)==>"+to_java_user);
1
2
3
4
5
6
7
8
9
10
11
12
13
14
15
16
17
2
3
4
5
6
7
8
9
10
11
12
13
14
15
16
17
# @RequestParam和@RequestBody
@RequestParam可以处理 Content-Type 为 application/x-www-form-urlencoded 编码的内容
注解@RequestBody接收的参数是来自requestBody中,即请求体。一般用于处理非 Content-Type: application/x-www-form-urlencoded编码格式的数据,比如:application/json、application/xml等类型的数据。一般用于批量处理数据
https://blog.csdn.net/it_beecoder/article/details/98212136